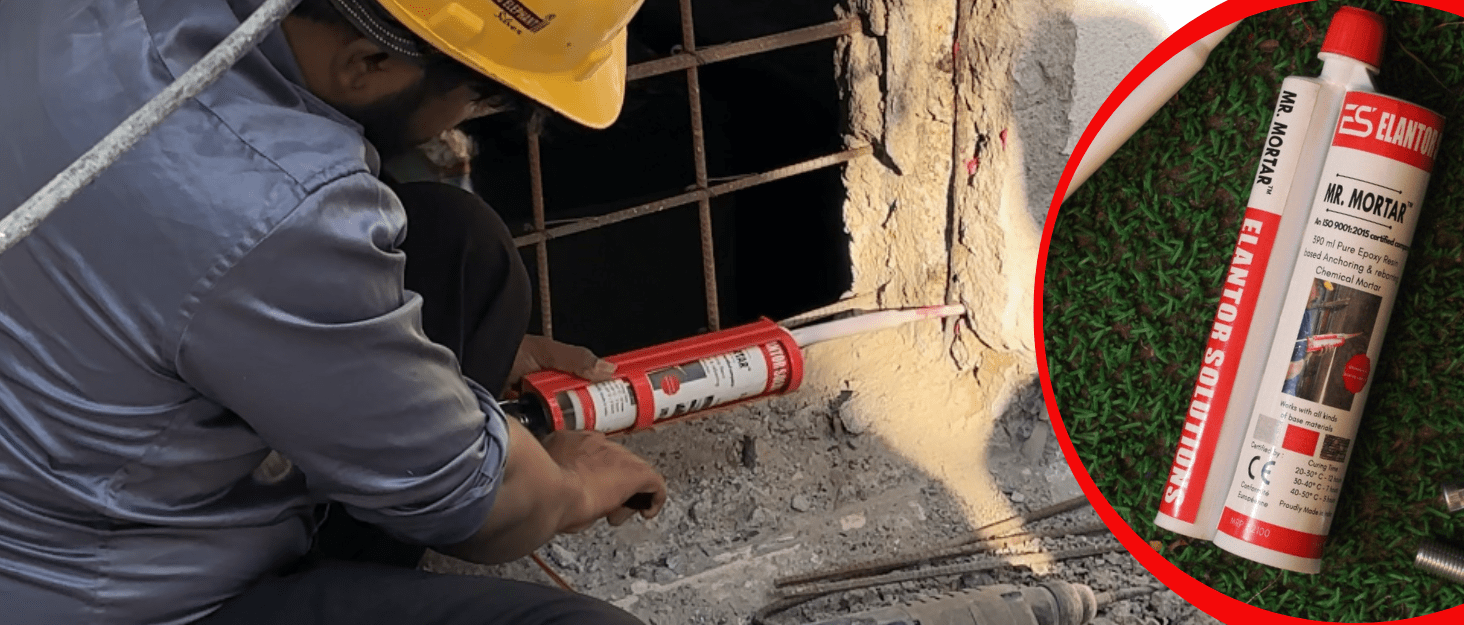
Chemical anchoring is widely used for fixing structural and non-structural elements to concrete. From rebaring and retrofitting to elevators, HVAC systems, cable trays, solar structures and machinery foundations, a chemical anchor can provide a reliable connection when the right system is selected and installed correctly.
But here’s something that is often overlooked:
The performance of a chemical anchor depends on much more than the chemical mortar itself.
A high-performance anchoring system can still underperform if the hole is incorrectly drilled, poorly cleaned, improperly filled or loaded before the required curing time.
In practice, many anchoring problems are not caused by one major mistake. They happen because several small installation steps are skipped or done incorrectly.
Here are seven common mistakes to watch for on site.
1. Incorrect Hole Diameter
The diameter of the drilled hole is not something that should be decided by simply using whatever drill bit is available.
The gap between the drilled hole and the threaded rod or rebar determines how the chemical mortar forms the bond around the steel element.
Too small a hole can make proper mortar placement difficult.
Too large a hole increases the amount of mortar required and can affect the intended performance of the anchoring system.
The correct hole diameter should always be based on the requirements of the selected anchoring system and the relevant technical documentation.
We have a Free Calculator to get the exact ml consumption per hole in concrete. The next time you wish to check in advance, feel free to use it and get the perfect estimate, so you don’t end up wasting extra money on labour or material.
Site check
Before drilling, confirm:
- Rod or rebar diameter
- Required drill-hole diameter
- Required embedment depth
- Approved installation requirements for the specific chemical anchor
2. Insufficient Embedment Depth
A deeper hole does not automatically mean a stronger anchor.
The required embedment depends on the anchor type, substrate, applied load, steel element and the design requirements of the application.
If the embedment is less than what the design or approved system requires, the available bond area is reduced and the connection may not achieve its intended capacity.
At the other extreme, simply increasing embedment without checking the surrounding concrete, reinforcement and design requirements is not a substitute for proper engineering.
Site check
Mark the required embedment depth before drilling.
This simple step can prevent inconsistent installation across multiple anchors.
3. Poor Hole Cleaning
This is one of the most important — and most commonly underestimated — steps in chemical anchoring.
Drilling creates dust and loose particles inside the hole. If they remain on the hole walls, they can interfere with the interaction between the cured mortar and the concrete substrate.
A beautifully installed threaded rod cannot compensate for a poorly prepared hole.
The hole should therefore be cleaned according to the installation instructions for the selected anchoring system.
Depending on the system, this may involve a defined sequence of brushing and blowing or vacuuming.
The key point:
Drilling the hole is only half the job. Preparing the hole is the other half.
4. Incorrect Mortar Installation
Chemical mortar needs to be properly mixed and installed into the drilled hole.
With two-component systems, the components need to be properly mixed through the appropriate dispensing system and mixing nozzle.
The initial material coming out of a newly fitted mixing nozzle may not yet be uniformly mixed. The installation instructions for the specific product should therefore be followed regarding the amount of material to dispense before filling the hole.
The mortar should then be placed correctly so that the hole is filled adequately around the inserted rod or rebar, without leaving significant voids.
Site check
Before starting a large installation:
Check the cartridge → mixer → dispenser → material flow → hole filling method.
A few minutes of preparation can prevent significant wastage and rework later.
5. Incorrect Installation of the Rod or Rebar
The steel element should be inserted to the required embedment depth while the mortar is still within its usable working time.
Simply pushing a rod into the hole is not enough.
The installation procedure should ensure that the mortar properly surrounds the embedded portion of the rod or rebar.
The rod should also be positioned correctly and protected from movement during the curing period as required by the installation instructions.
For rebaring applications, the required diameter, embedment, spacing and installation method should be determined as part of the engineering design.
6. Loading the Anchor Too Early
This is a simple mistake with potentially serious consequences.
Chemical mortar requires time to cure.
The required curing time depends on the product and environmental conditions such as temperature.
Loading an anchor before the specified curing time has elapsed can compromise the intended performance of the connection.
On a busy construction site, there can be pressure to continue work immediately. But curing time is part of the installation process — not an optional waiting period.
Best practice
Before loading the anchor, check:
Product → temperature → curing time → installation instructions
Never assume that every chemical anchor has the same curing time.
7. Ignoring the Concrete and Site Conditions
A chemical anchor does not work in isolation.
The surrounding concrete is part of the anchoring system.
Before installation, factors such as:
- Concrete strength
- Cracked or non-cracked condition
- Edge distance
- Anchor spacing
- Concrete thickness
- Existing reinforcement
- Moisture or water conditions
- Temperature
may need to be considered depending on the application and the selected system.
This becomes particularly important during retrofitting and rebaring, where existing reinforcement and structural conditions may not always be visible.
The right chemical anchor in the wrong application is still the wrong anchoring solution.
A Simple Chemical Anchoring Site Checklist
Before starting installation, verify these six things:
1. Hole
Is the diameter and depth correct?
2. Cleaning
Has the hole been cleaned according to the product’s installation procedure?
3. Mortar
Is the cartridge, dispenser and mixing nozzle suitable and correctly installed?
4. Steel
Is the correct rod or rebar being used and inserted to the required depth?
5. Curing
Has the required curing time been observed for the actual site temperature?
6. Loading
Is the anchor being loaded only after the required curing period and according to the design requirements?
If these basics are controlled consistently, many avoidable installation problems can be eliminated.
The Takeaway
Chemical anchoring is not simply a matter of drilling a hole, injecting mortar and inserting a rod.
It is a complete installation system.
The performance of the final connection can be influenced by the substrate, hole geometry, cleaning, mortar installation, embedment, curing and loading.
That is why choosing the right chemical mortar is only one part of the process.
Good anchoring starts with good installation.
At Elantor Solutions, we believe that making anchoring products in India is only part of our responsibility. Making them easier to understand, specify and install correctly is equally important.
Whether you’re working on rebaring, retrofitting, elevators, stack parking, HVAC supports, cable trays, solar structures or machinery foundations, the installation requirements should always be checked against the technical documentation and design requirements for the specific application.
Have a chemical anchoring problem on site?
Share the application, rod/rebar size, hole diameter and embedment details with us. Our team can help you identify the key parameters that need to be checked before installation.

